Mastering CSS Custom Properties: The Senior Developer's Approach to CSS Custom Properties.
Simplify Your Styling with custom properties.


Introduction
Working with CSS (Cascading Style Sheets) is a very important part of our application as it allows us to change the colors, fonts, and layouts of all our HTML elements.
It usually involves Class selectors that Target elements with a specific class, ID Selectors that target elements with a specific ID, and Element Selectors that target specific HTML elements.
Note: I'll assume you already have basic knowledge of CSS before delving into this project.
Also: No matter what you already know, I made sure that any underlined word in the article is a link. You can click on it to learn more.
Now back to our work 👇 :
For our project, we will be making use of this code with Internal CSS.
<!DOCTYPE html>
<html>
<head>
<title>Page Title</title>
<link rel="preconnect" href="https://fonts.googleapis.com">
<link rel="preconnect" href="https://fonts.gstatic.com" crossorigin>
<link href="https://fonts.googleapis.com/css2?family=Lato:ital,wght@0,100;0,300;0,400;0,700;0,900;1,100;1,300;1,400;1,700;1,900&family=Montserrat:ital,wght@0,100;0,300;0,400;0,500;0,600;0,700;0,800;0,900;1,100&family=Poppins:ital,wght@0,100;0,200;0,300;0,400;0,500;0,600;0,700;0,800;0,900;1,100;1,200;1,300;1,400;1,500;1,600;1,700;1,800;1,900&display=swap" rel="stylesheet">
<style>
body {
font-family: "Poppins", sans-serif;
background-color: #e8d300;
color: #333;
margin: 20px;
}
h1 {
color: white;
text-align:center;
padding-top:30px;
font-size:80px;
line-height:1.1em;
}
p {
font-size: 25px;
font-weight:600;
text-align:center;
color:rgb(53, 53, 53);
}
.custprop{
color:rgb(61, 61, 61);
}
</style>
</head>
<body>
<h1>CSS <br/> <span class="custprop"> Custom Properties </span>
</br/> Project</h1>
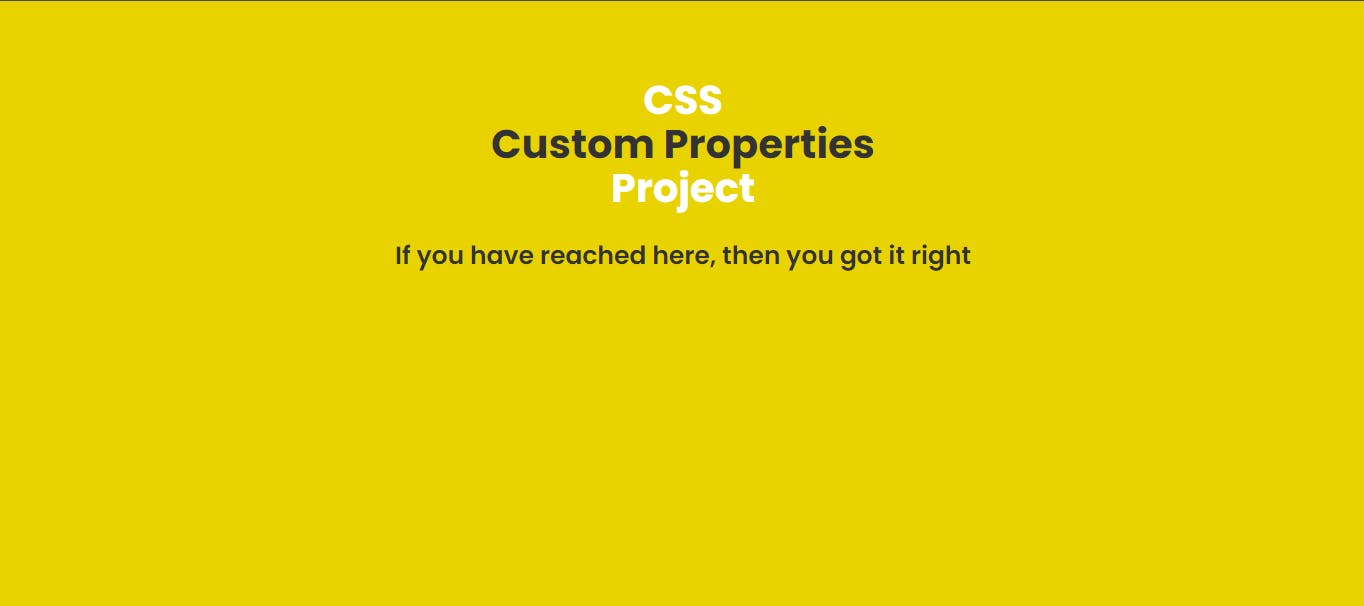
<p> If you have reached here, then you got it right</p>
</body>
</html>
If we copy and paste this into our code editor and then save it, we'll end up with a page that looks like this:

Notice I wrote "CSS CUSTOM PROPERTIES". Good! thats what we will be learning today. Let us start with a definition.
What are Css properties?
CSS properties are key-value pairs that define a specific styling applied to an HTML element.
Here is what I mean 👇
 p {
      font-size: 25px;
    }
In the example above, "font-size" is a property, and its value is set to "25px."
While this approach works, it has some limitations.
For instance,
If there is another
font-sizesomewhere in the application and it's consistent with25px, when we want to make changes to one, we have to find the other to make changes all over again. If there are 10 of these, we have to make changes in all 10 places it appears on the website. We cannot effortlessly update it across entire codebases.We cannot create User-defined variable names. We are limited to built-in properties.
I know you have seen something that may sound strange to you " User defined variables". We will get to that shortly.
So it has been established that doing it the traditional way comes with limitations. Because of this, in cases where our websites have a lot of content that will also mean a lot of styling, we can employ a better approach called CSS Custom properties or Custom variables.
The term "Custom" is used because these properties are defined by the developer rather than being built-in or predefined by the browser.
CSS custom properties, or CSS variables, are user-defined values in CSS that hold specific values.
Take note of these key statements in its definition:
User-defined values.
Custom variables.
Let's try to progressively break them down.
User-defined Values
In our previous code, font-size cannot be altered by the developer, because it is built-in. If it is altered, then the code won't run. 👇
p {
      myfontsize: 25px;
      front-size:10px;
      fontsize:10px;
      front-size:10px;
    }
None of the codes defined above will run.
What Custom Properties allows us to do is to break these rules.
With Custom properties, we can give it any name we want. If a color is yellow, we can name the property Spongebob and give it a yellow color, and it will run.
Giving it any name we want is the feature that makes it a User-defined value.
If the user(you and I as developers) can customise it to any type of name we want, then it is a user-defined value.
CUSTOMISED VARIABLE
Surprisingly, that same control you and I have is also what makes it a Customised Variable.
We store information inside, and in the context of programming, a variable is a way to store and use to data in a program.
The custom properties are the user-defined variables.
If that has been understood, then we need to now understand CSS pseudo-class selector.
What is a Pseudo-Class Selector?
A pseudo-class is a keyword added to a selector to indicate a special state or condition of the selected elements.
For instance, we have the :hover, :roots.
If this is gibberish to you, then you must read this to know more about the pseudo class.
In our case, we'll be making use of the :root.
The :root is the highest-level parent element in an HTML document. In simple terms, it is the styling with the most authority.
:root{
background-color:red;
}
When you apply the code above, it overshadows the rest of the stying because it the highest level parent element.
html {
  background-color: red;
  color: white;
}

body{
background-color:red;

:root{
background-color:red;
}
In the code above, The styles defined for :root would apply globally to the entire HTML document. Yes, it is more powerful and global than the html and the body selector.
This is beneficial for our use case because we can now store global custom variables inside the :root selector and style it across the entire website.
How can the Custom Variables be used?
To declare a CSS custom variable, use the -- prefix followed by your preferred name for the variable
 :root{
        --yellow-background:#e8d300;
        --dark-color:#333;
        --white-color:white;
        --heading-font-size:80px;
        --paragraph-font-size:25px;
    }
Here, -- is our prefix, and --yellow-background --dark-color --white-color --heading-font --paragraph-font-size are our custom variables/properties defined within the:root pseudo-class, which represents the highest-level parent element in the document.
If you noticed all the names of the properties are user-defined.
We can name it anything we want and use them globally.
The only condition in which we are allowed to break the rule of built-in or predefined by the browser is when we use the -- prefix followed by our preferred name for the variable.
Note: Just to see if it works, you can name it whatever you wish.
Now that we have declared it, how do we use it?
 :root{
        --yellow-background:#e8d300;
        --dark-color:#333;
        --white-color:white;
        --heading-font-size:80px;
        --paragraph-font-size:25px;
    }

    body {
      font-family: "Poppins", sans-serif;
      background-color: var(--yellow-background);
      color: var(--dark-color);
    }

    h1 {
      color: var(--white-color);
      text-align:center;
      padding-top:50px;
      font-size:var(--heading-font-size);
      line-height:1.1em;
    }

    p {
      font-size: var(--paragraph-font-size);
      font-weight:600;
      text-align:center;
      color:var(--dark-color);
    }

    .custprop{
        color:var(--dark-color);
    }
If you notice, anytime we want to use what we declared in the: root, we have to include a var().
The var() function in CSS is used to insert the value of a custom property/variable wherever it is called. That is exactly what we did above.
With this, our styling should work on your browser, and you should be getting the same result as the original code. 👇

CSS custom properties/variables make it simple to change values globally. If we want to change the heading font size, we only need to update it in one place:
:root{
        --heading-font-size:40px;
    }
Notice it was 80px earlier.
With that single adjustment, it changes to 👇
If we had more classes with more headings, we only need to change the --heading-font-size value once and it updates the rest of the application.
I hope this is clear.
Now we can effortlessly update our website across our entire codebases, Provide enhanced readability through user-defined variable names, and ensure reusable style components.